Step-by-Step Guide to Setting Up Your DIY Hydroponics System
Setting up a DIY hydroponics system might seem intimidating at first, but with a little guidance, you'll be growing your own fresh herbs, greens, or veggies in no time.
Setting up a DIY hydroponics system might seem intimidating at first, but with a little guidance, you'll be growing your own fresh herbs, greens, or veggies in no time. Follow this step-by-step guide to get your hydroponic garden up and running.
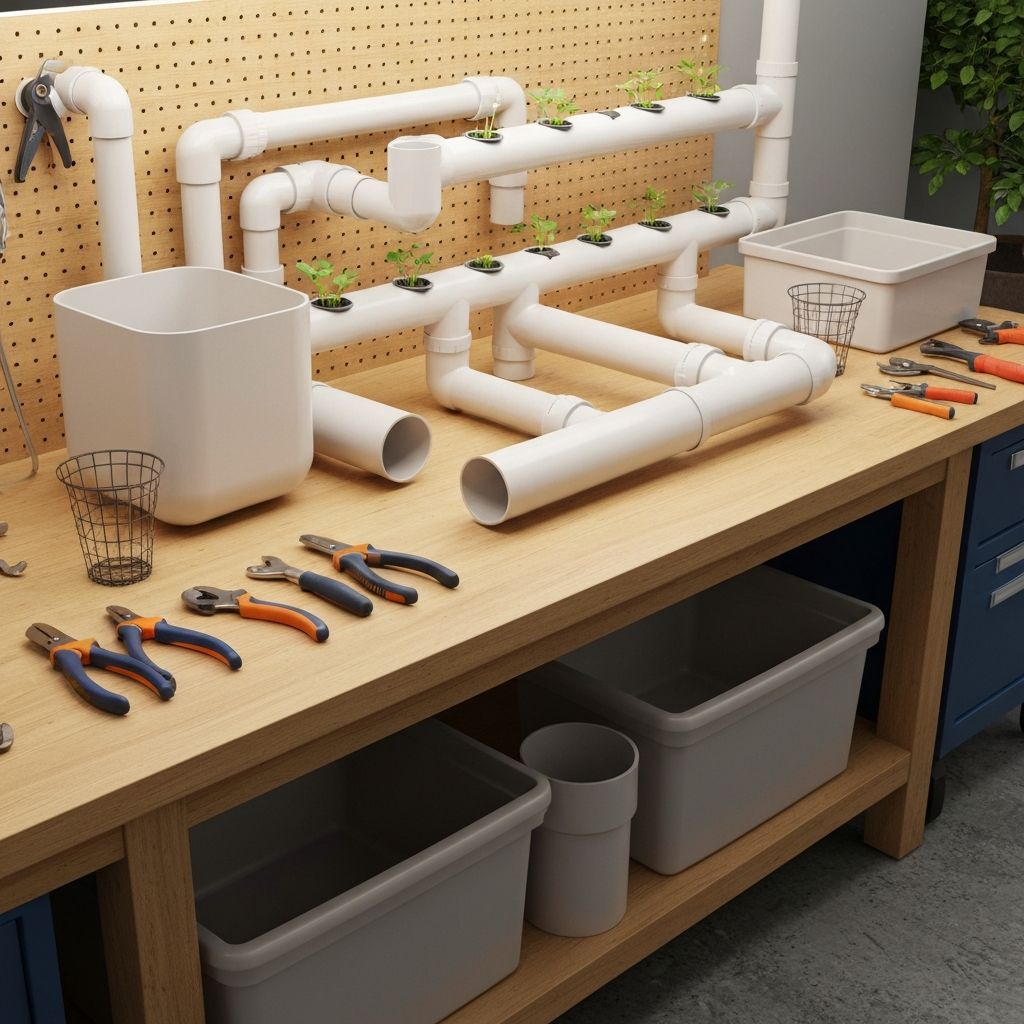
Step 1: Gather Your Supplies
Before diving in, make sure you have everything you need:
- - **Container:** A 5-gallon bucket, storage tote, or specialized reservoir
- - **Net pots:** 2-3 inch diameter for most plants
- - **Growing medium:** Clay pebbles (hydroton), rockwool, or perlite
- - **Air pump and airstone:** For oxygenating the water (DWC systems)
- - **Hydroponic nutrients:** A complete formula for vegetative growth
- - **pH test kit and adjusters:** Essential for plant health
- - **Seeds or seedlings:** Start with beginner-friendly varieties
- - **Grow lights:** If growing indoors without adequate sunlight
Step 2: Prepare Your Container
- Clean your container thoroughly
- If using a bucket, cut holes in the lid sized for your net pots
- Paint the exterior black or cover to prevent algae growth
- Ensure the container can hold water without leaking
Step 3: Set Up the Air System (for DWC)
- Place the airstone at the bottom of the container
- Connect the airline to your air pump
- Position the pump above the water line or use a check valve
- Test to ensure bubbles are flowing properly
Step 4: Prepare Your Nutrient Solution
- Fill your container with water (let tap water sit 24 hours to dechlorinate)
- Add hydroponic nutrients according to package directions
- Test and adjust pH to 5.5-6.5 for most plants
- Check EC/PPM if you have a meter
Step 5: Plant Your Seeds or Seedlings
- If starting from seed, use rockwool cubes or rapid rooter plugs
- Once seedlings have roots, transfer to net pots
- Fill around the plant with your growing medium
- Position so roots can reach the nutrient solution
Step 6: Set Up Your Lighting
- Position grow lights 12-18 inches above plants
- Set timer for 14-16 hours of light daily
- Adjust height as plants grow
Step 7: Daily Maintenance
- Check water levels daily - Top off with plain, pH-adjusted water - Refresh nutrient solution weekly - Monitor plant health and adjust as needed
Troubleshooting Common Issues
- - **Yellowing leaves:** Check pH and nutrient levels
- - **Wilting:** Ensure roots are reaching water
- - **Algae growth:** Block light from reaching the reservoir
- - **Slow growth:** Verify adequate lighting
You're Ready!
Congratulations on setting up your first hydroponic system! Remember, every gardener encounters challenges—the key is to learn from them. Happy growing!
Related Articles
Introduction to Hydroponics: A Beginner's Guide
Have you ever wished you could grow fresh veggies or herbs right in your own home but felt intimidated by the idea of traditional gardening? Hydroponics might be exactly what you're looking for.
Read moreGetting Started10 Compelling Reasons to Try Hydroponic Gardening
If you've ever wondered whether hydroponic gardening is worth trying, let me share 10 compelling reasons why it's one of the best decisions you can make as a beginner gardener.
Read moreGetting Started5 Common Myths About Hydroponic Gardening Debunked
Hydroponic gardening is gaining popularity as an innovative, sustainable way to grow plants without soil. However, like many modern methods, it's surrounded by misconceptions.
Read moreReady to Start Growing?
Check out our product reviews to find the perfect hydroponic system for your needs.
View Product Reviews